Congratulations! You just pushed a message through NSQ.
Enhanced consumer: use NSQLookupd
The above example hardcoded the ip of nsqd into the consumer code, which is not a best practice. A better way to go about it is to point the consumer at nsqlookupd, which will transparently connect to the appropriate nsqd that happens to be publishing that topic.
In our example, we only have a single nsqd, so it’s an extraneous lookup. But it’s good to get into the right habits early, especially if you are a habitual copy/paster.
The consumer example only needs a one-line change to get this enhancement:
1
err := q.ConnectToNSQLookupd("127.0.0.1:4161")
Which will connect to the HTTP port of nsqlookupd.
# uname -a
Linux ip-10-11-167-200.ec2.internal 3.17.2+ #2 SMP Tue Nov 4 04:15:48 UTC 2014 x86_64 Intel(R) Xeon(R) CPU E5-2670 0 @ 2.60GHz GenuineIntel GNU/Linux
The CoreOS kernel version is 3.17.2
Switch correct branch for this kernel version
12
# cd linux
# git checkout remotes/origin/coreos/v3.17.2
$ ls -alh /dev | grep -i nvidia
crw-rw-rw- 1 root root 251, 0 Nov 5 16:37 nvidia-uvm
crw-rw-rw- 1 root root 195, 0 Nov 5 16:37 nvidia0
crw-rw-rw- 1 root root 195, 255 Nov 5 16:37 nvidiactl
Launch docker containers
When you launch other docker containers on the same CoreOS instance, to allow them to access the GPU device you will need to add the following arguments:
Here are some of the advantages of Goroutines over threads:
You can run more goroutines on a typical system than you can threads.
Goroutines have growable segmented stacks.
Goroutines have a faster startup time than threads.
Goroutines come with built-in primitives to communicate safely between themselves (channels).
Goroutines allow you to avoid having to resort to mutex locking when sharing data structures.
Goroutines are multiplexed onto a small number of OS threads, rather than a 1:1 mapping.
You can write massively concurrent servers withouth having to resort to evented programming.
You can run more of them
On Java you can run 1000’s or tens of 1000’s threads. On Go you can run hundreds of thousands or millions of goroutines.
Java threads map directly to OS threads, and are relatively heavyweight. Part of the reason they are heavyweight is their rather large fixed stack size. This caps the number of them you can run in a single VM due to the increasing memory overhead.
Go OTOH has a segmented stack that grows as needed. They are “Green threads”, which means the Go runtime does the scheduling, not the OS. The runtime multiplexes the goroutines onto real OS threads, the number of which is controlled by GOMAXPROCS. Typically you’ll want to set this to the number of cores on your system, to maximize potential parellelism.
They let you avoid locking hell
One of the biggest drawback of threaded programming is the complexity and brittleness of many codebases that use threads to achieve high concurrency. There can be latent deadlocks and race conditions, and it can become near impossible to reason about the code.
Go OTOH gives you primitives that allow you to avoid locking completely. The mantra is don’t communicate by sharing memory, share memory by communicating. In other words, if two goroutines need to share data, they can do so safely over a channel. Go handles all of the synchronization for you, and it’s much harder to run into things like deadlocks.
No callback spaghetti, either
There are other approaches to achieving high concurrency with a small number of threads. Python Twisted was one of the early ones that got a lot of attention. Node.js is currently the most prominent evented frameworks out there.
The problem with these evented frameworks is that the code complexity is also high, and difficult to reason about. Rather than “straightline” coding, the programmer is forced to chain callbacks, which gets interleaved with error handling. While refactoring can help tame some of the mental load, it’s still an issue.
After you’re done, you’ll end up with a host OS with the following properties:
A GPU enabled AWS instance running Ubuntu 14.04
Nvidia kernel module
Nvidia device drivers
CUDA 6.5 installed and verified
Install Docker
Once your host OS is setup, you’re ready to install docker. The latest instructions are avaialable on the Docker website. Currently for Ubuntu 14.0.4 you need to:
./deviceQuery Starting...
CUDA Device Query (Runtime API) version (CUDART static linking)
Detected 1 CUDA Capable device(s)
Device 0: "GRID K520"
CUDA Driver Version / Runtime Version 6.5 / 6.5
... snip ...
deviceQuery, CUDA Driver = CUDART, CUDA Driver Version = 6.5, CUDA Runtime Version = 6.5, NumDevs = 1, Device0 = GRID K520
Result = PASS
Verify: Find all your nvidia devices
1
$ ls -la /dev | grep nvidia
You should see:
123
crw-rw-rw-  1 root root    195,   0 Oct 25 19:37 nvidia0
crw-rw-rw-  1 root root    195, 255 Oct 25 19:37 nvidiactl
crw-rw-rw-  1 root root    251,   0 Oct 25 19:37 nvidia-uvm
Run GPU enabled docker image
Launch docker container
The easiest way to get going is to use this pre-built docker image that has the cuda drivers pre-installed. Or if you want to build your own, the accompanying dockerfile will be a useful starting point. (Update: Nvidia has released an official docker container which you should probably use, but I haven’t tried yet as of the time of this writing. Please post a comment if you get this to work)
You’ll have to adapt the DOCKER_NVIDIA_DEVICES variable below to match your particular devices.
Based on the instructions in this blog post, I’ve created an AMI and shared it publicly. So the easiest thing to do is just use that pre-built AMI:
Image: ami-2cbf3e44 for US-East or ami-c38babf3 for US-West (Ubuntu Server 14.04 LTS (HVM) – CUDA 6.5)
Instance type: g2.2xlarge (if you skip this step, you won’t have an nvidia device)
Storage: Use at least 8 GB, 20+ GB recommended
If you use the pre-built AMI, then you can skip down to the Verify CUDA is correctly installed section, since all of the rest of the steps are “baked in” to the AMI.
Note regarding AMI regions: the AMI only currently works in the US-East and US-West regions. If you need it added to another region, please post a comment below
Building from scratch
Or if you prefer to build your own instance from scratch, keep reading.
Create a new EC2 instance:
Image: ami-9eaa1cf6 (Ubuntu Server 14.04 LTS (HVM), SSD Volume Type)
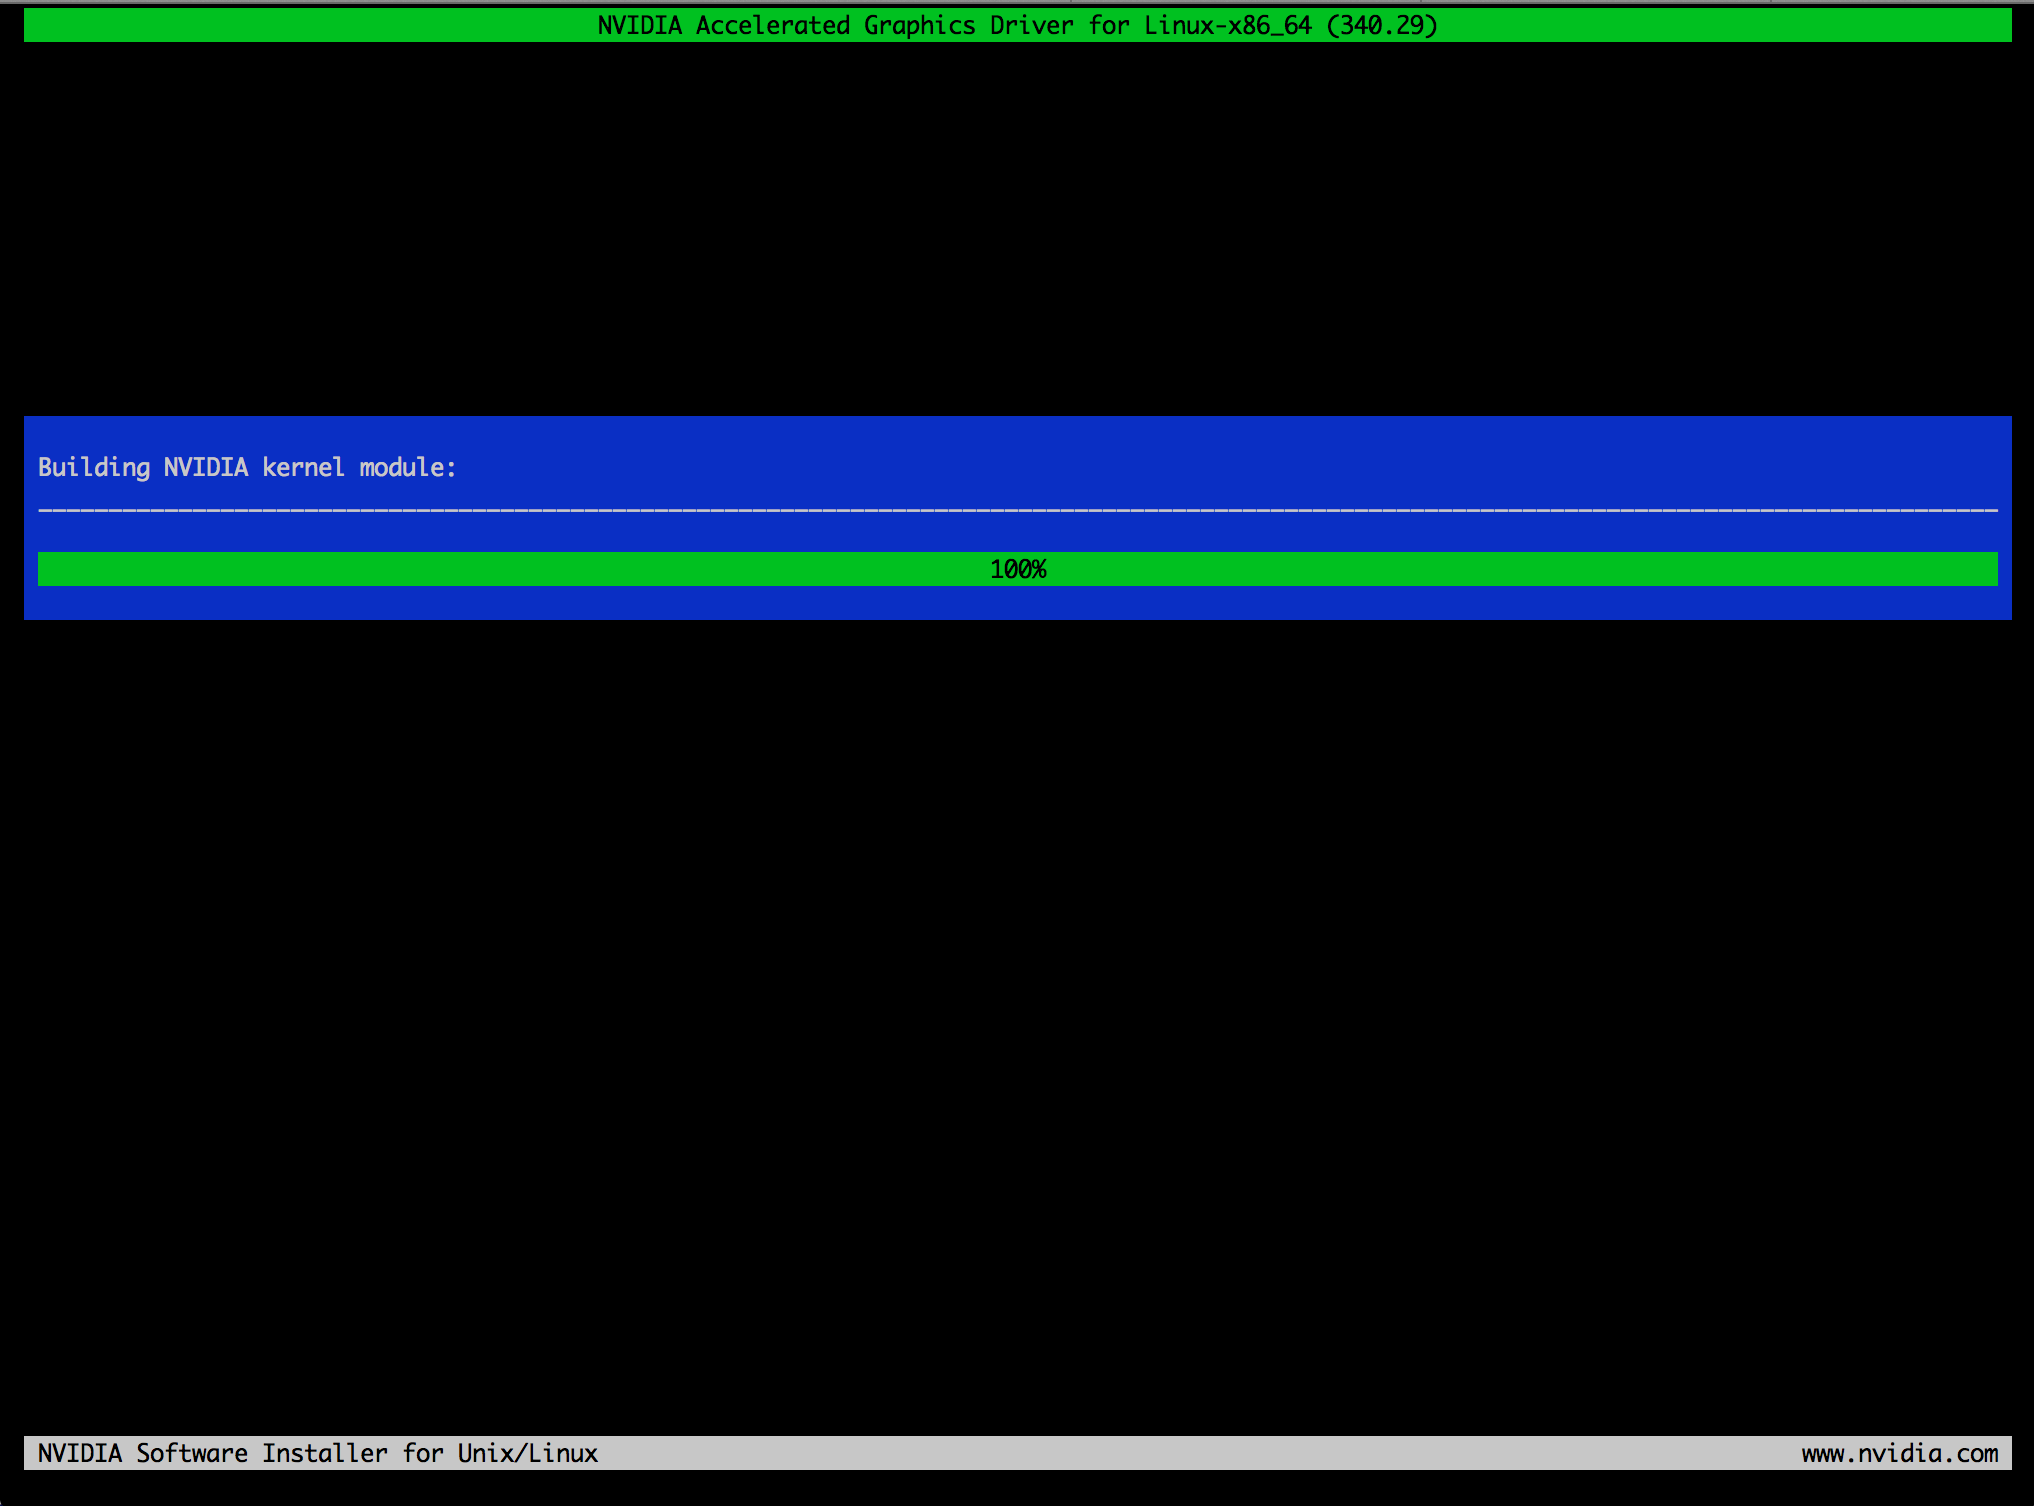
$ cd nvidia_installers
$ ./NVIDIA-Linux-x86_64-340.29.run
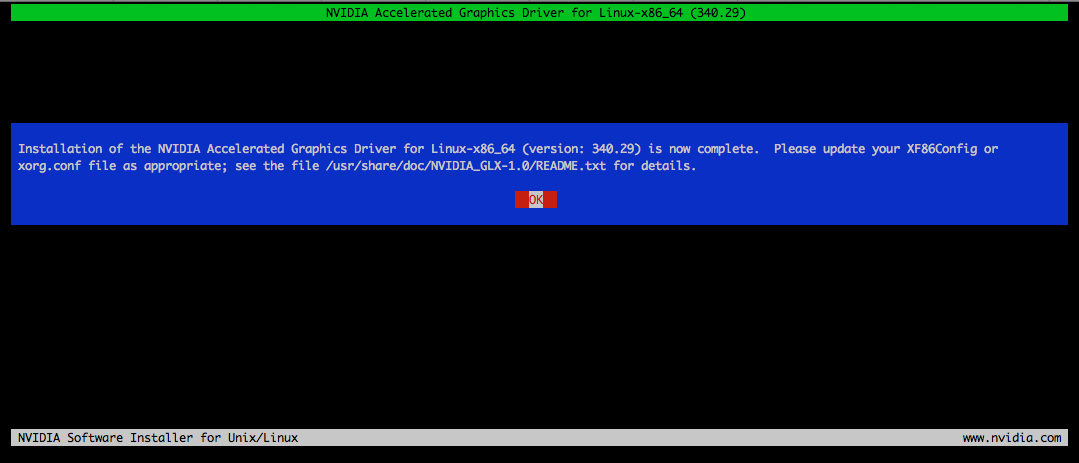
At this point it will popup an 8-bit UI that will ask you to accept a license agreement, and then start installing.
At this point, I got an error:
1234567
Unable to load the kernel module 'nvidia.ko'.  This happens most frequently when this kernel module was built against the wrong or
         improperly configured kernel sources, with a version of gcc that differs from the one used to build the target kernel, or if a driver
         such as rivafb, nvidiafb, or nouveau is present and prevents the NVIDIA kernel module from obtaining ownership of the NVIDIA graphics
         device(s), or no NVIDIA GPU installed in this system is supported by this NVIDIA Linux graphics driver release.

         Please see the log entries 'Kernel module load error' and 'Kernel messages' at the end of the file '/var/log/nvidia-installer.log'
         for more information.
At this point you should be ssh’d into your GCE instance
Create a configuration JSON
Here’s a sample example JSON configuration for Sync Gateway which uses walrus as it’s backing store, rather than Couchbase Server. Later we will swap in Couchbase Server as a backing store.
Check the logs to make sure there are no serious errors in the logs:
1
gce:~$ sudo docker logs 8ffb83fd1f
You should see something along the lines of:
123456
02:23:58.905587 Enabling logging: [REST]
02:23:58.905818 ==== Couchbase Sync Gateway/1.00 (unofficial) ====
02:23:58.905863 Opening db /sync_gateway as bucket "sync_gateway", pool "default", server <walrus:/opt/sync_gateway/data>
02:23:58.905964 Opening Walrus database sync_gateway on <walrus:/opt/sync_gateway/data>
02:23:58.909659 Starting admin server on :4985
02:23:58.913260 Starting server on :4984 ...
Expose API port 4984 via Firewall rule
On your workstation with the gcloud tool installed, run:
OK, so we’ve gotten it working with walrus. But have you looked at the walrus website lately? One click and it’s pretty obvious that this thing is not exactly meant to be a scalable production ready backend, nor has it ever claimed to be.
Let’s dump walrus for now and use Couchbase Server from this point onwards.
Start Couchbase Server
Before moving on, you will need to go through the instructions in Running Couchbase Server on GCE in order to get a Couchbase Server instance running.
Stop Sync Gateway
Run this command to stop the Sync Gateway container and completely remove it, using the same container id you used earlier:
Copy this example JSON configuration, which expects a Couchbase Server running on http://172.17.0.2:8091, and update it with the ip address of the docker instance where your Couchbase Server is running. To get this ip address, follow the these instructions in the “Find the Docker instance IP address” section.
Now upload your modified JSON configuration to a website that is publicly accessible, for example in a Github Gist.
Run Sync Gateway
Run Sync Gateway again, this time using Couchbase Server as a backing store this time.
Replace http://yourserver.co/yourconfig.json with the URL where you’ve uploaded your JSON configuration from the previous step.
This will return a container id, eg 9ffb83fd1f. Again, check the logs to make sure there are no serious errors in the logs:
1
gce:~$ sudo docker logs 9ffb83fd1f
You should see something along the lines of:
12
...
02:23:58.913260 Starting server on :4984 ...
with no errors.
Verify it’s working
Save a document via curl
The easiest way to add a document is via the Admin port, since there is no authentication to worry about. Since we haven’t added a firewall rule to expose the admin port (4985), (and doing so without tight filtering would be a major security hole), the following command to create a new document must be run on the GCE instance.
To verify the document was successfully stored on Couchbase Server, you’ll need to login to the Couchbase Server Web Admin UI. There are instructions here on how to do that.
From there, navigate to Data Buckets / default / Documents, and you should see:
Click on the document that has a UUID (eg, “29f8d7..” in the screenshot above), and you should see the document’s contents:
The _sync metadata field is used internally by the Sync Gateway and can be ignored. The actual doc contents are towards the end of the file: .."such":"json"}
At this point you should be ssh’d into your GCE instance
Increase max number of files limit
If you try to run Couchbase Server at this point, you will get this warning because the file ulimit is too low.
Here’s how to fix it:
Edit /etc/default/docker
Add a new line in the file with:
1
ulimit -n 262144
Restart the GCE instance in the GCE web admin by going to Compute Engine / VM Instances / and hitting the “Reboot” button.
Note: in theory it should be possible to just restart docker via sudo service docker restart, however this didn’t work for me when I tried it, so I ended up restarting the whole GCE instance
gce:~$ sudo docker run -d -name cb2 ncolomer/couchbase couchbase-start ${CB1_IP}
gce:~$ sudo docker run -d -name cb3 ncolomer/couchbase couchbase-start ${CB1_IP}
The nodes cb2 and cb3 will automatically join the cluster via cb1. The cluster needs a rebalance to be fully operational. To do so, run the following command: